Setup instructions are below. If you need further assistance or have account issues, please contact our support desk directly by e-mailing support@ipv6.rs or using our support page.
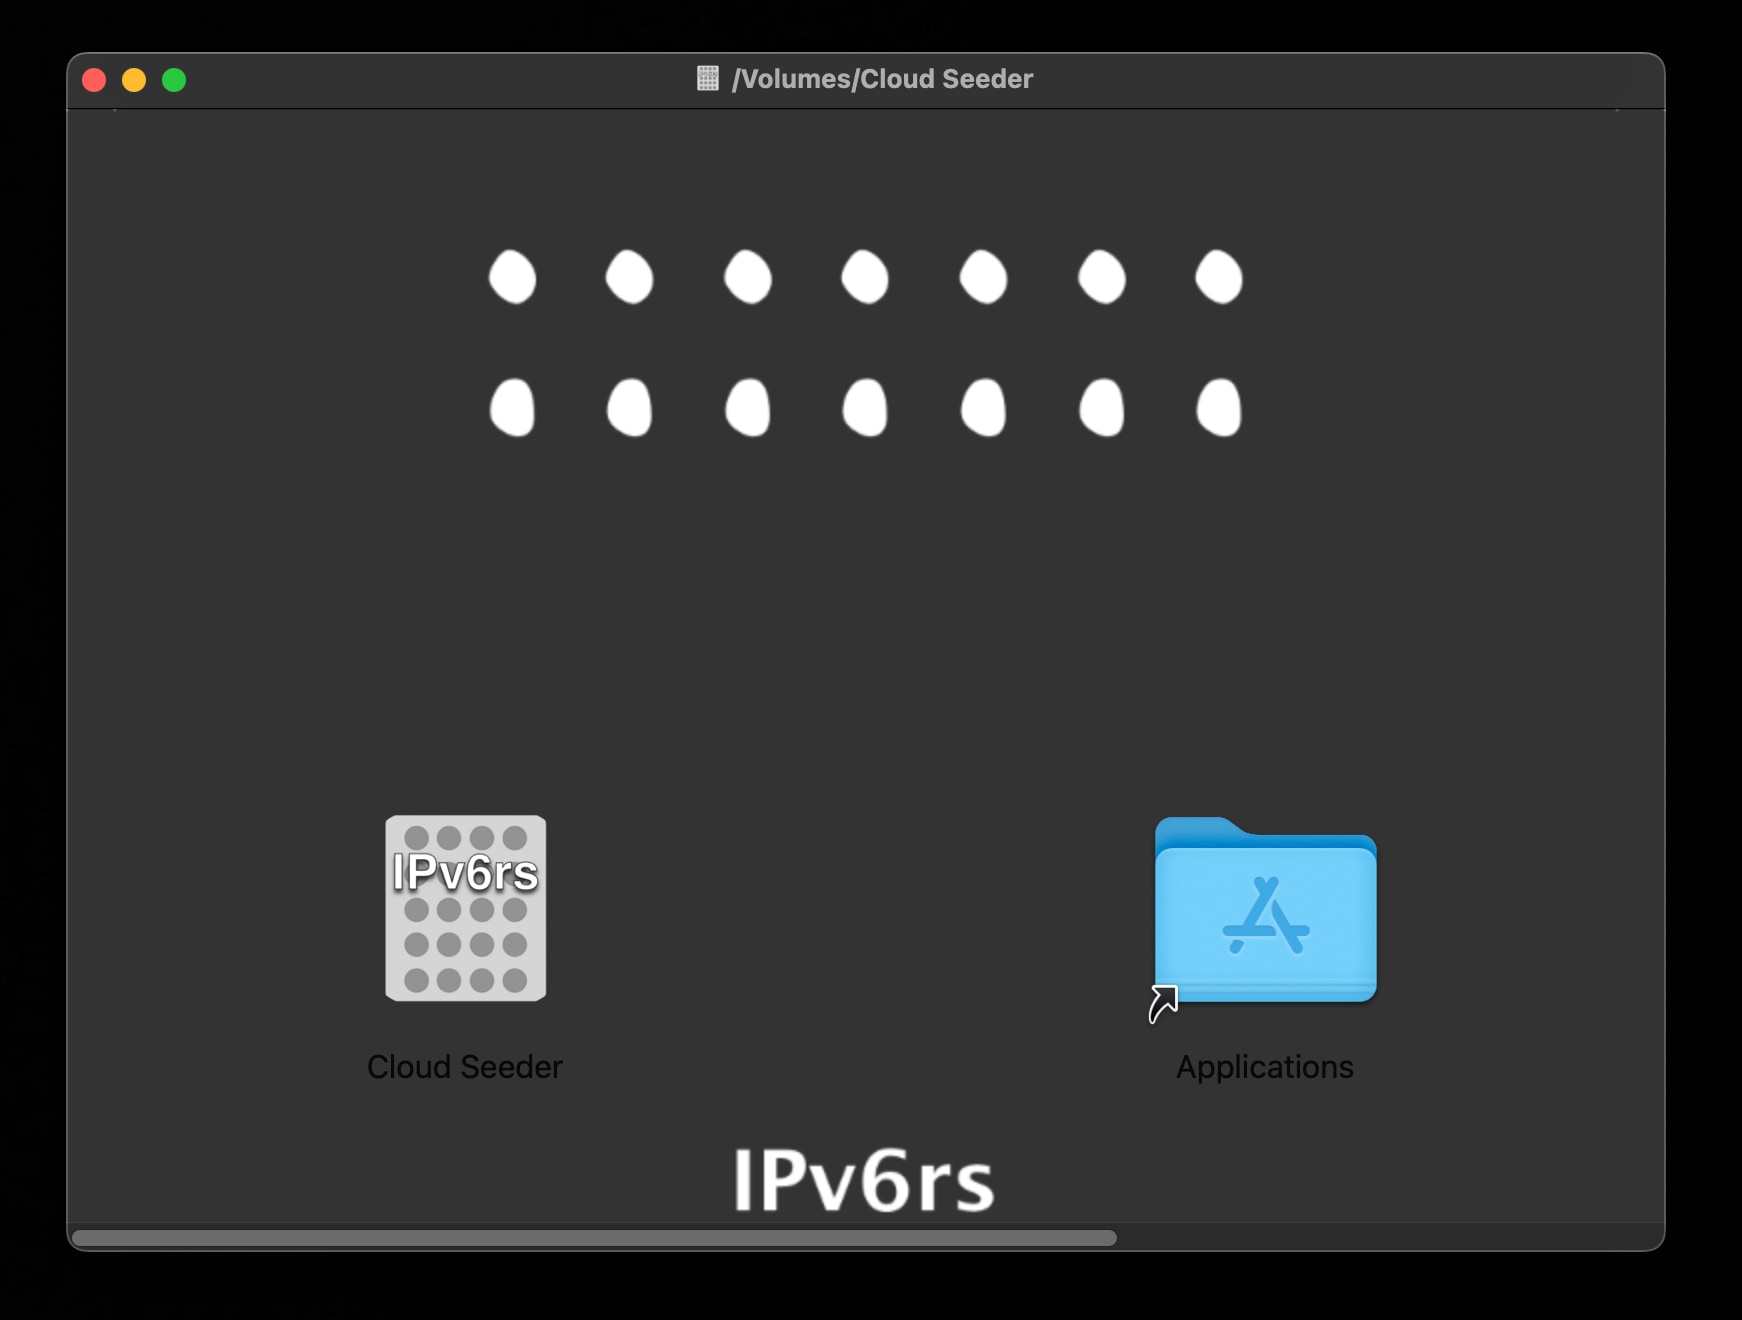
Then, copy Cloud Seeder to the Applications folder
Open Cloud Seeder from your Applications Launcher
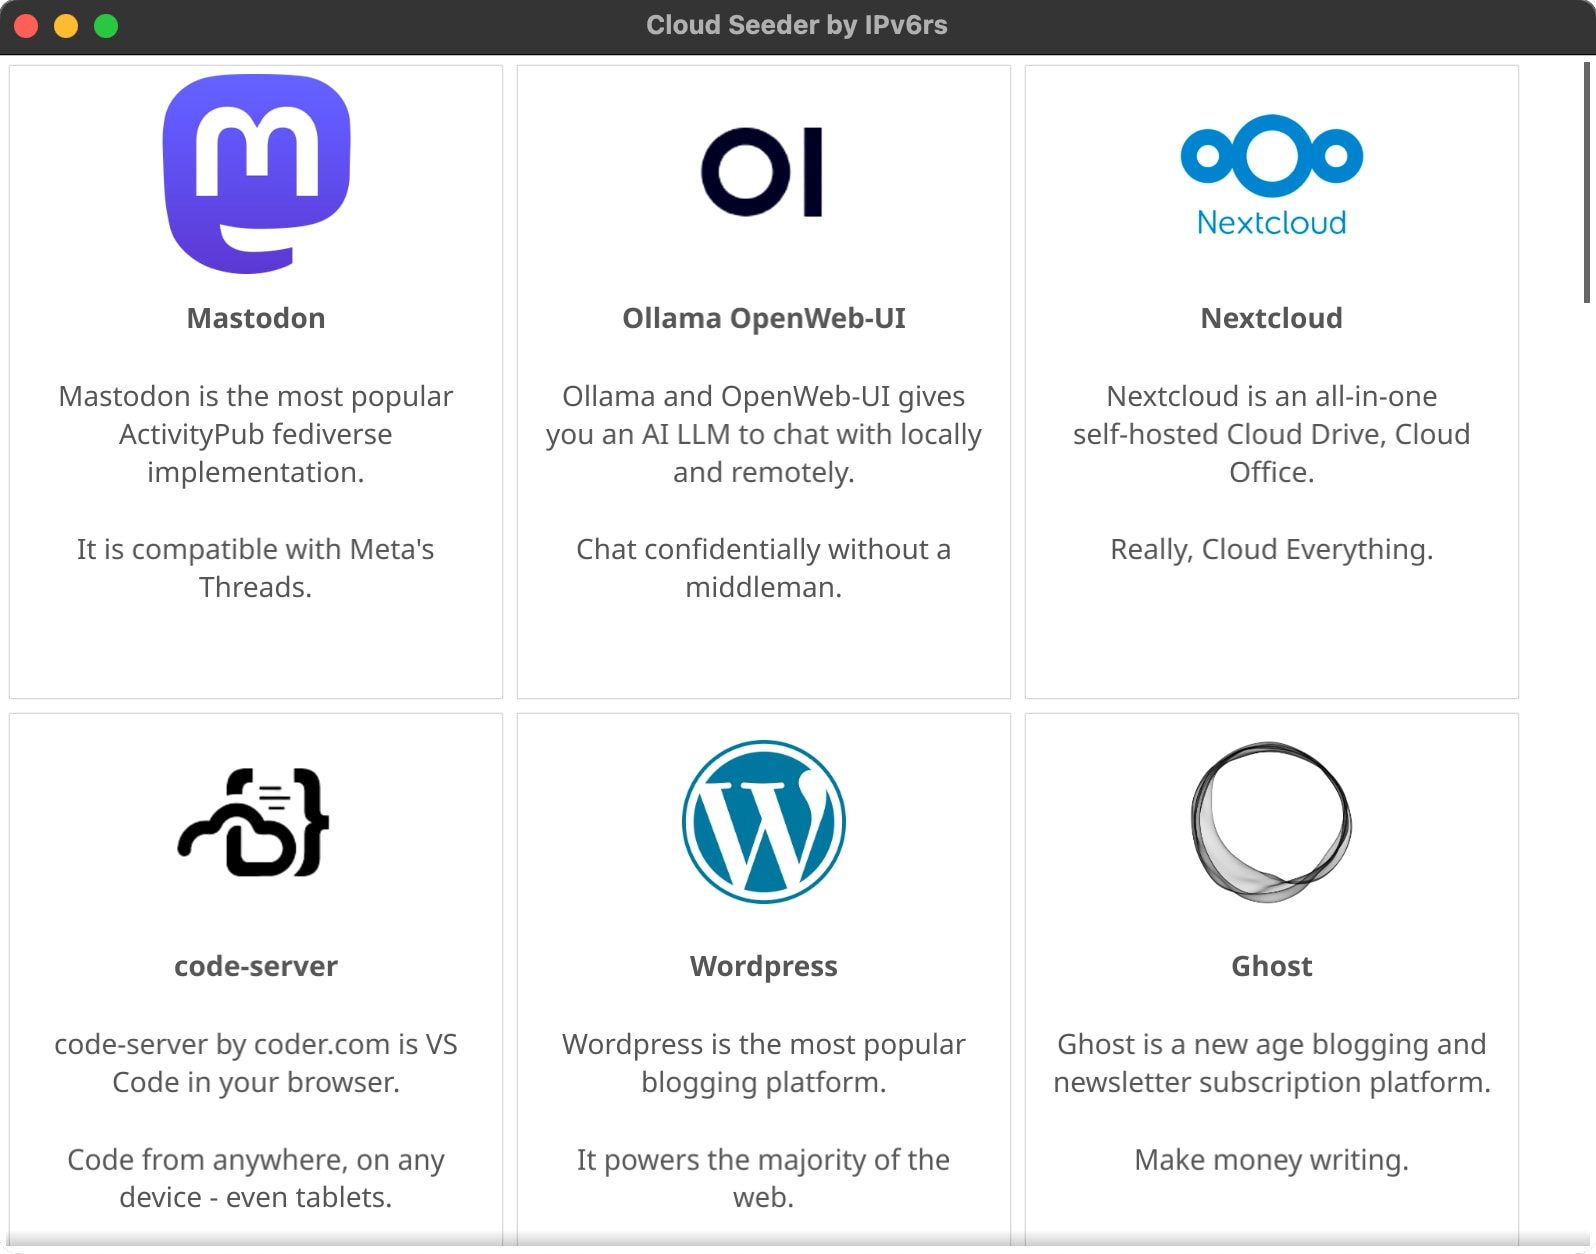
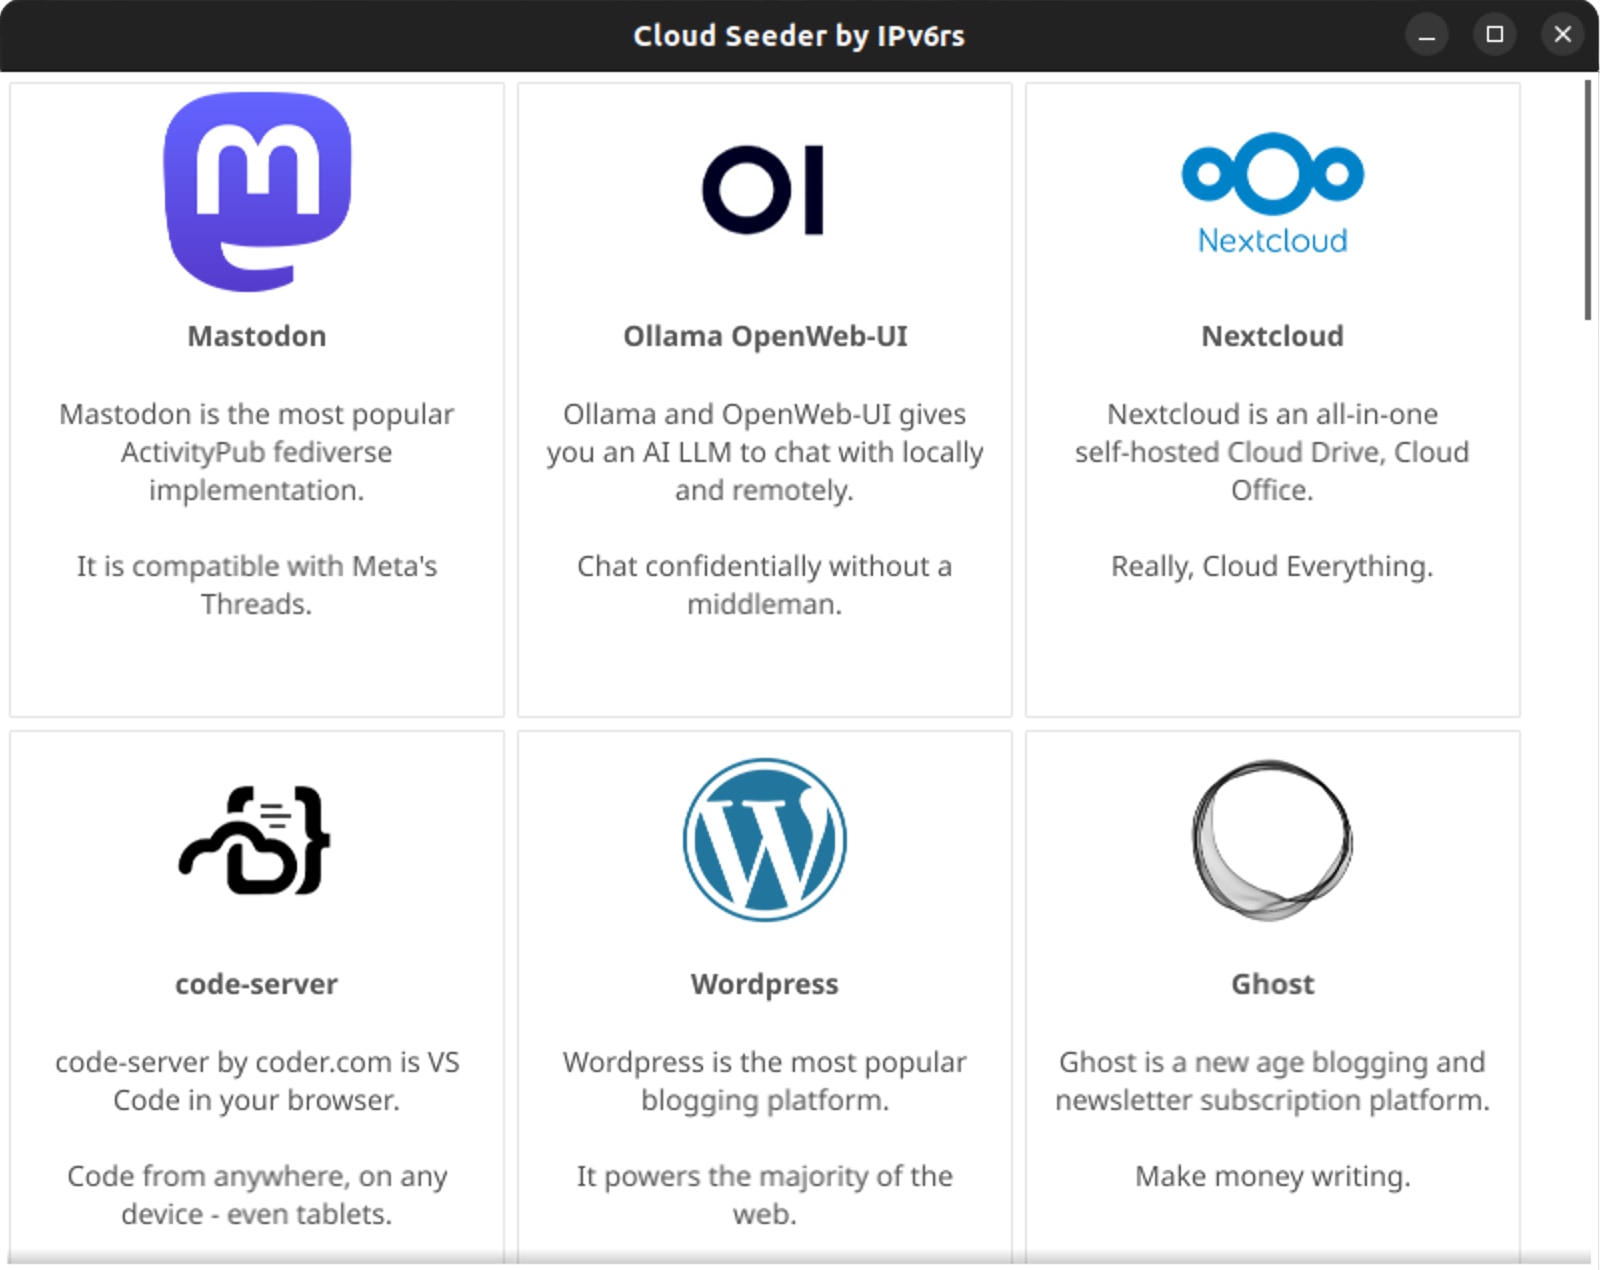
Choose an appliance to install
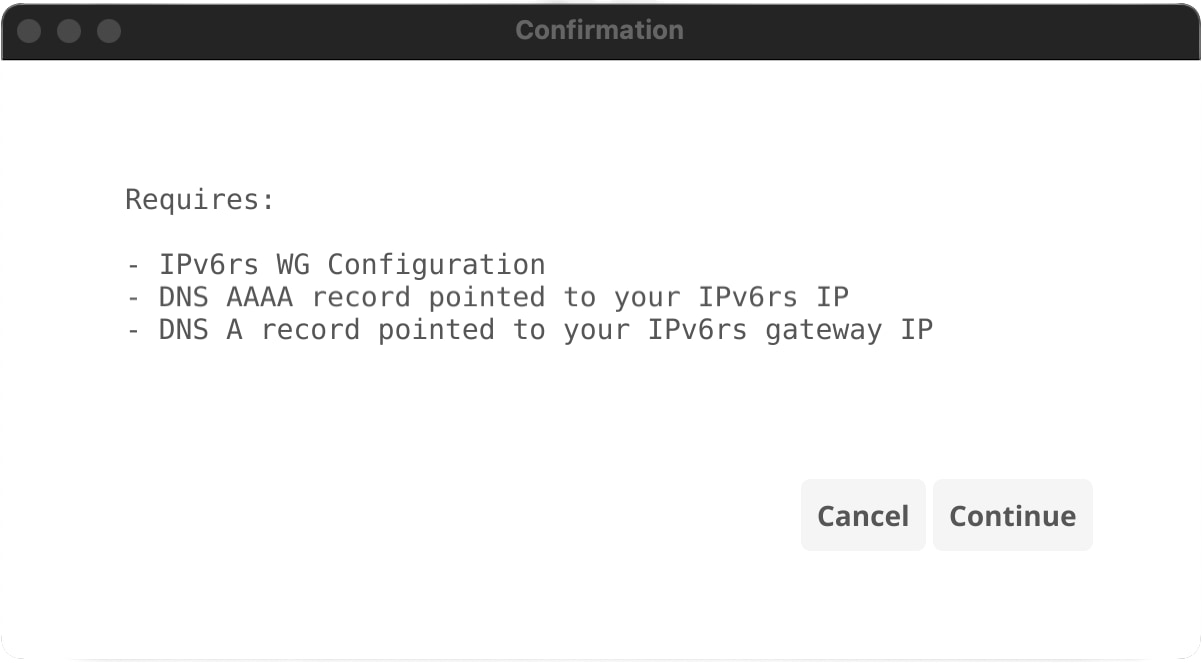
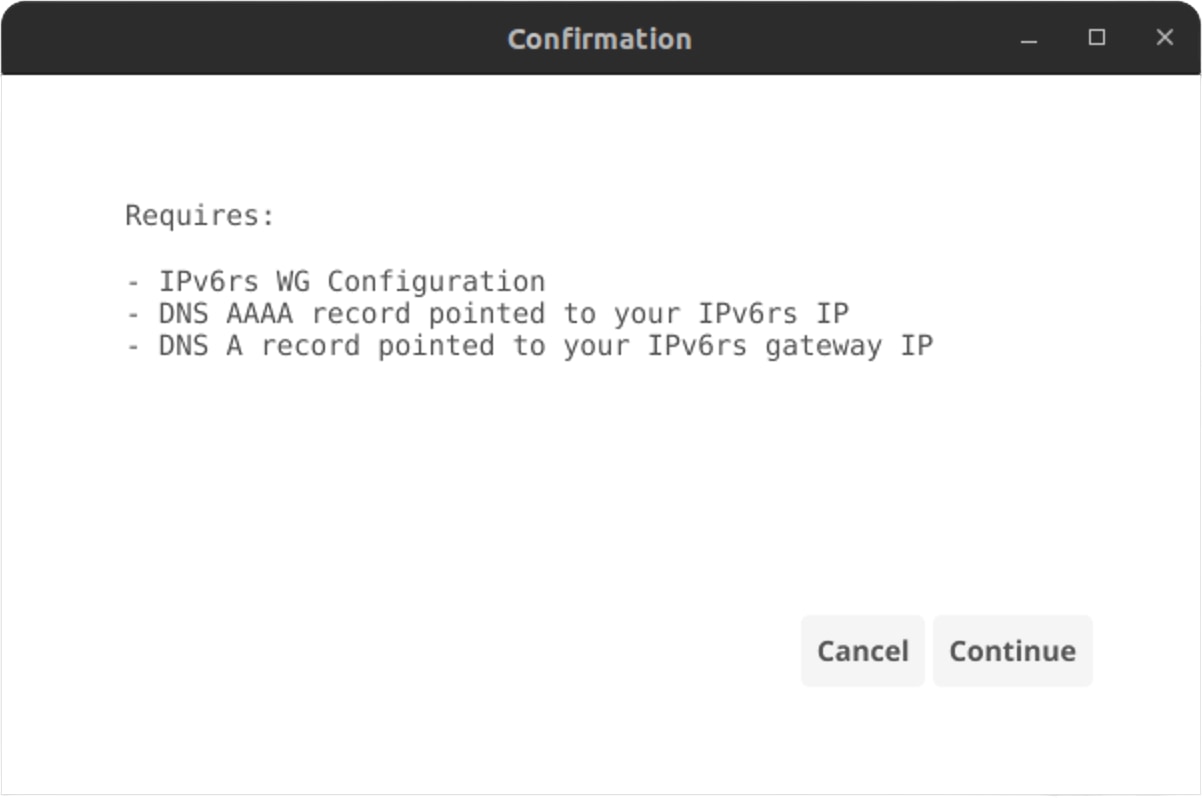
Make sure to setup your IPv6rs IP and point DNS to both your IPv6 IP (AAAA) and Gateway IP (A).
Then simply follow the on screen instructions, fill out the form and wait for it to finish! Some appliances can take up to 15 minutes as we compile from scratch for your safety!
First, download and install Podman. The GUI is easier but not mandatory.
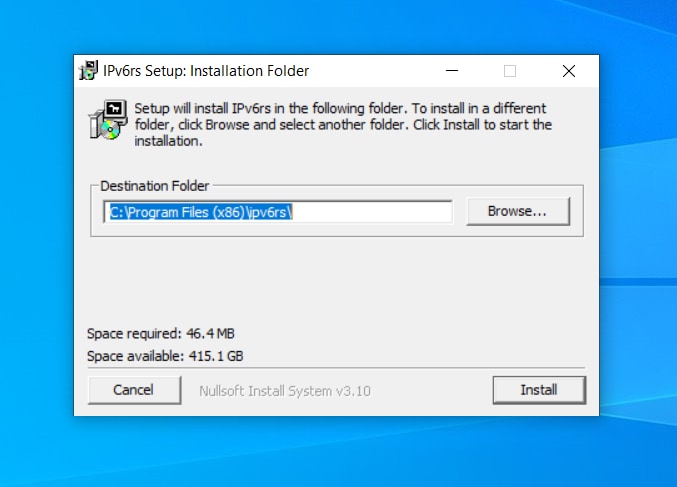
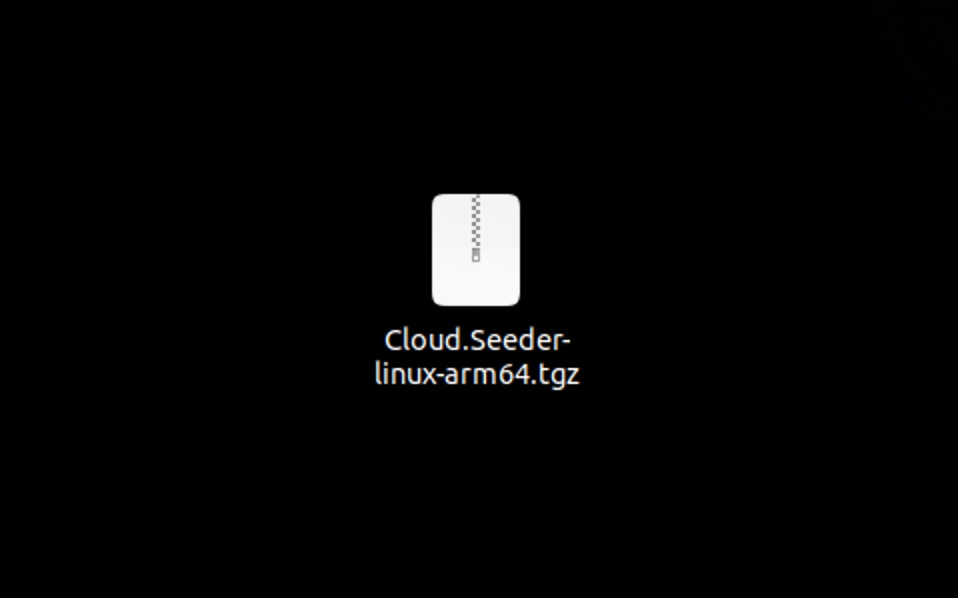
Extract the files. You can also place in /opt/cloudseeder if you like (make sure to set path)
Open Cloud Seeder from your Start Menu
Choose an appliance to install
Make sure to setup your IPv6rs IP and point DNS to both your IPv6 IP (AAAA) and Gateway IP (A).
Then simply follow the on screen instructions, fill out the form and wait for it to finish! Some appliances can take up to 15 minutes as we compile from scratch for your safety!
Download and Install the WireGuard client for Android from the Google Play Store.
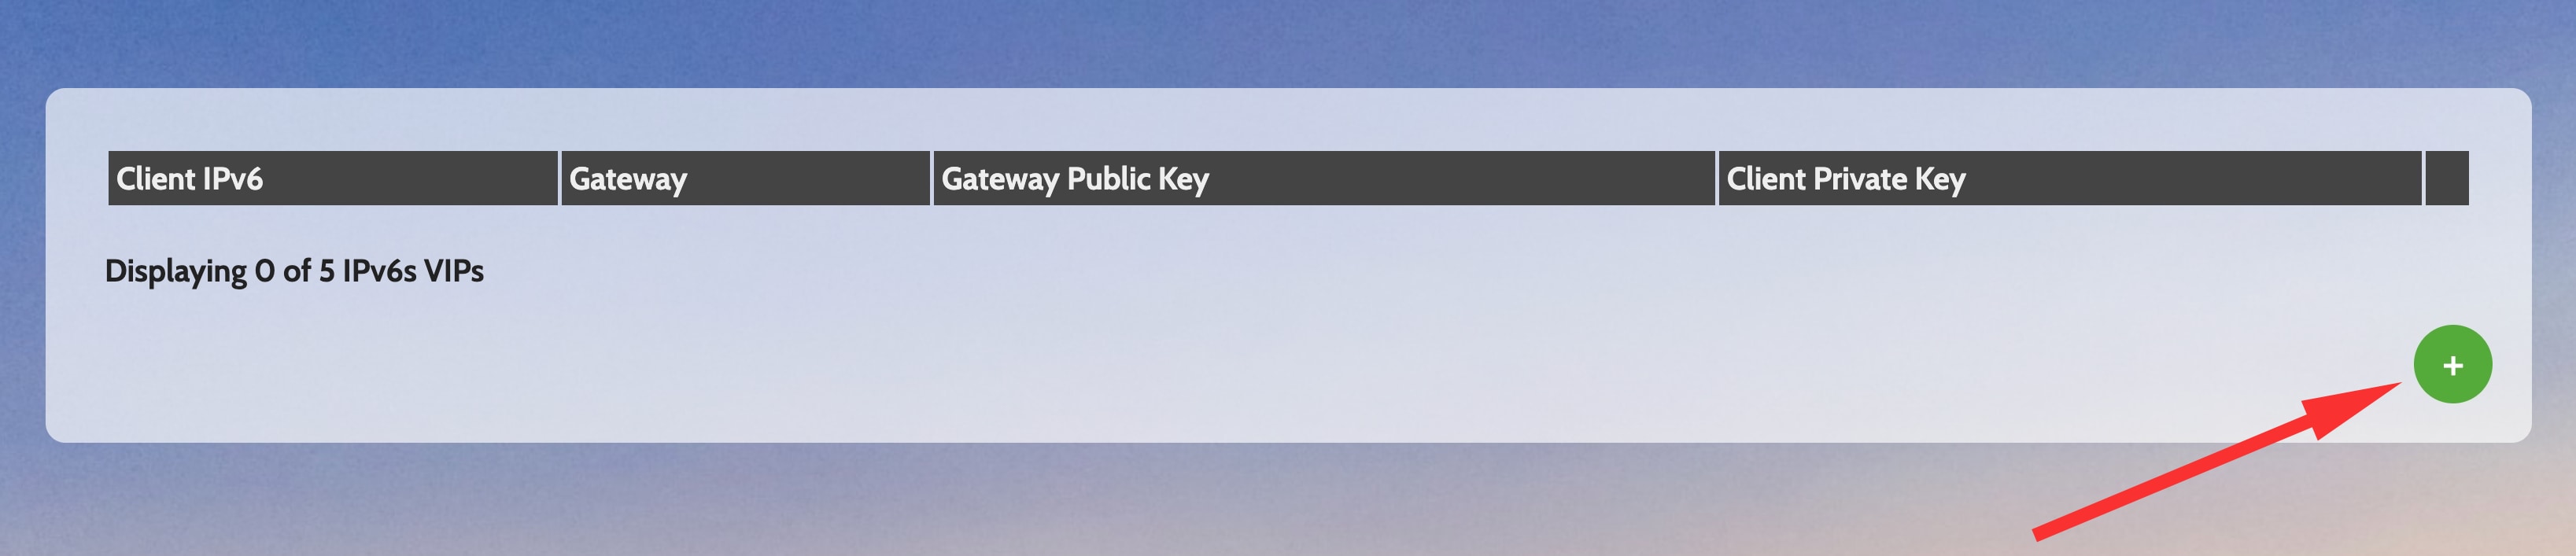
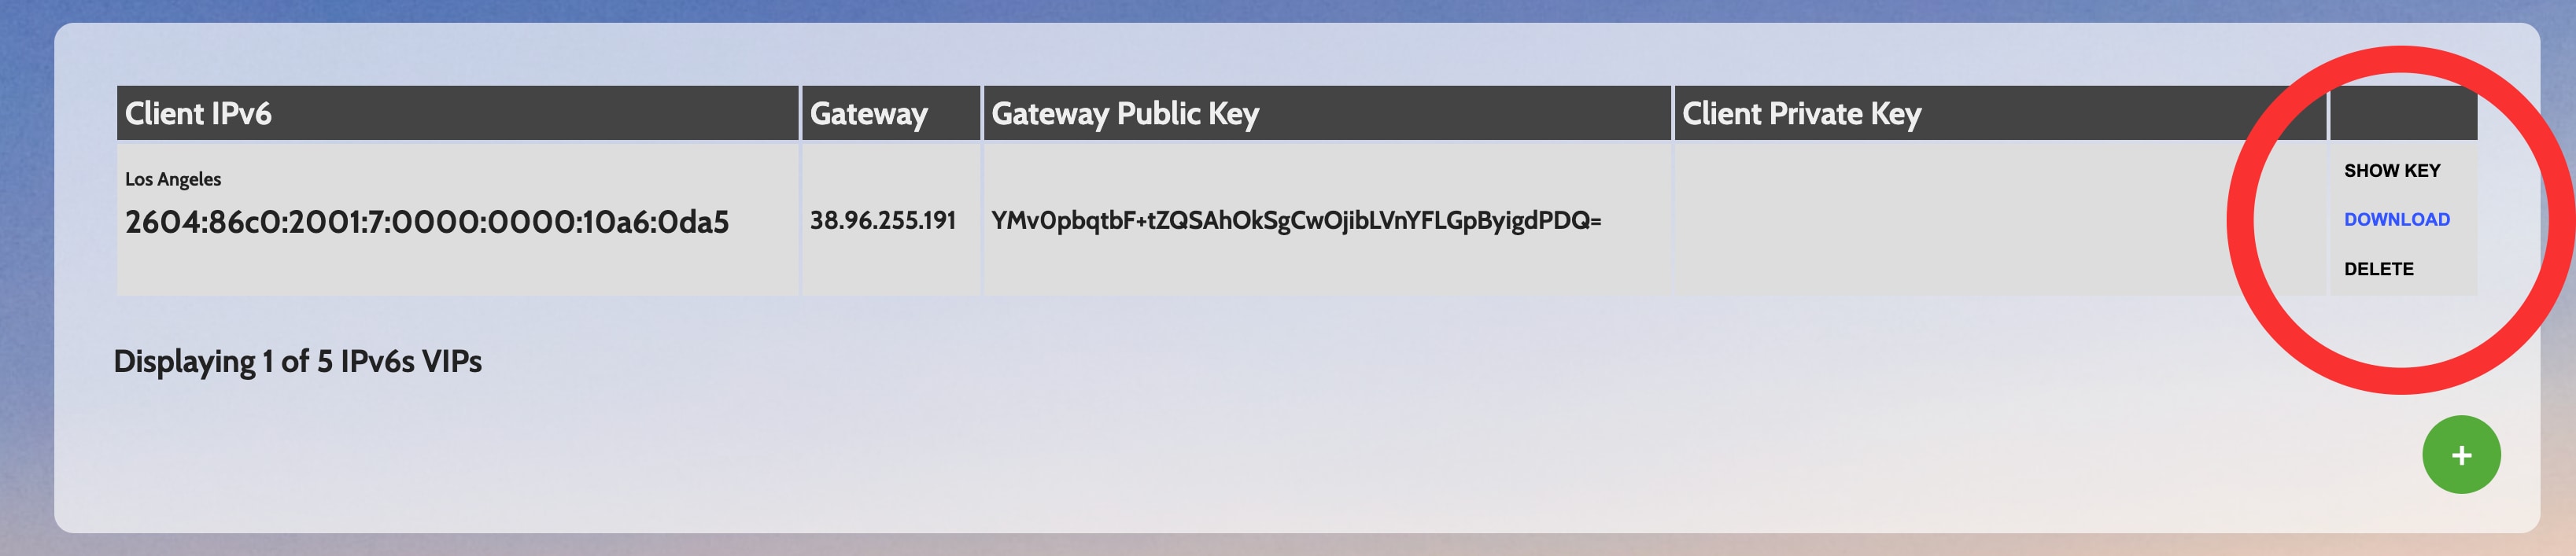
Login to your panel.
Click the green button (+) on the bottom right.
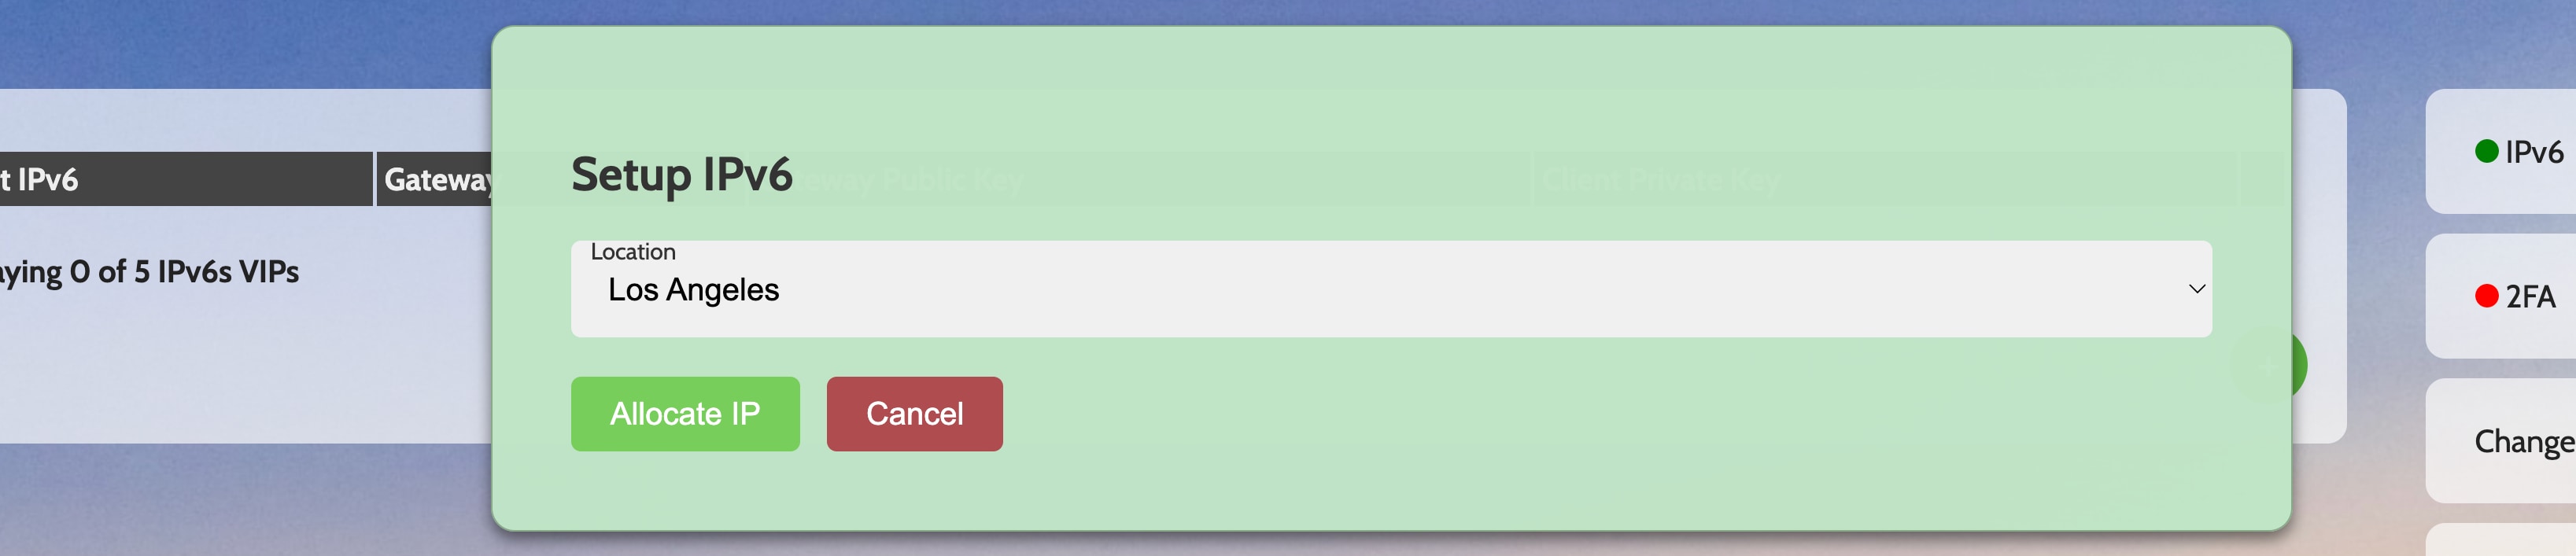
Choose a location close to you.
Click Allocate
Download configuration file or Scan the QR code with WireGuard on Android.
Activate to enable your IPv6rs IPv6 IP and start self-hosting, in your pocket!